

Need some new indoor herb garden ideas? Try a different approach with this indoor herb garden that can easily be transported outdoors depending on the weather... A simple DIY indoor herb gardening project that takes under 10 minutes!
The Easiest Indoor Herb Garden
I'm just going to put this out there - I'm a total container gardening failure.
Over the years, I've shared several posts about how I've started an indoor herb garden and then... crickets. My guess is some of you probably wondered why there were no follow-up posts.
The truth is: I completely and utterly suck at nurturing a tiny seed into a thriving herb plant indoors. Outside? No problem.
But my indoor sprouts just seem to shrivel up and wither away, and I've yet to pinpoint the exact problem. Too much water? Not enough water? Too much sun? Too little sun? A cold draft? Sigh, I just don't get it...
So when I received an email asking me to share some tips for planting a DIY indoor herb garden, I felt a little inauthentic trying to portray myself as an indoor herb gardening guru.
BUT after wandering around Walmart recently, a bit of inspiration struck. So I decided to give an indoor herb planter another shot!
Easy Herb Garden Planter
So what am I doing differently this time? Well, I changed two key principles in my latest easy herb garden attempt:
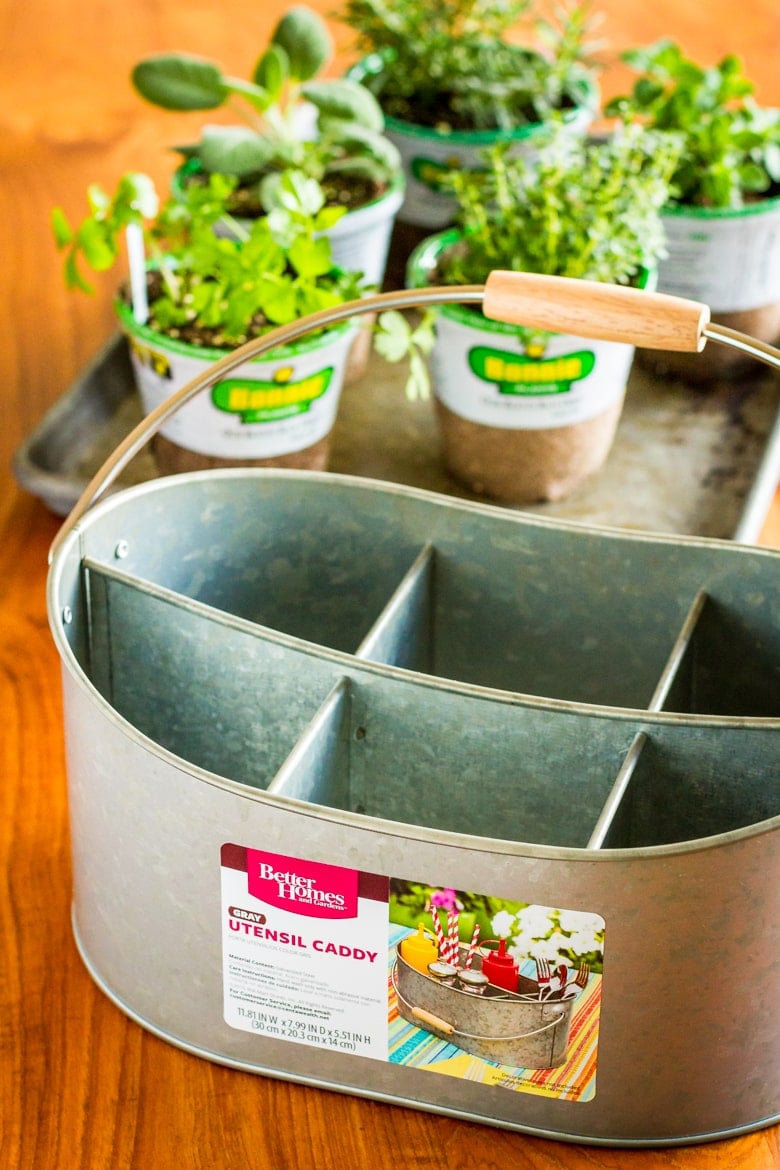
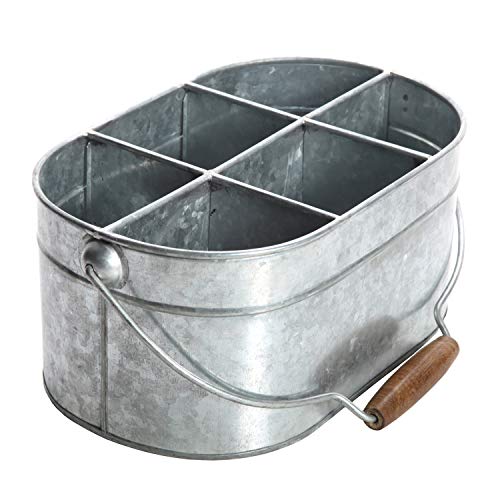
1| I used a container that is easily transported from indoors to outdoors and back. If I'm being honest, this was totally unplanned. Originally I was just going to use a terra cotta planter that I already own, but I spied this adorable utensil caddy at Walmart recently.
It dawned on me that the galvanized steel and 6 compartments would be perfect for planting herbs. AND the handle makes it super easy to carry it out of the house and back in again - you know, depending on the fickle spring weather.
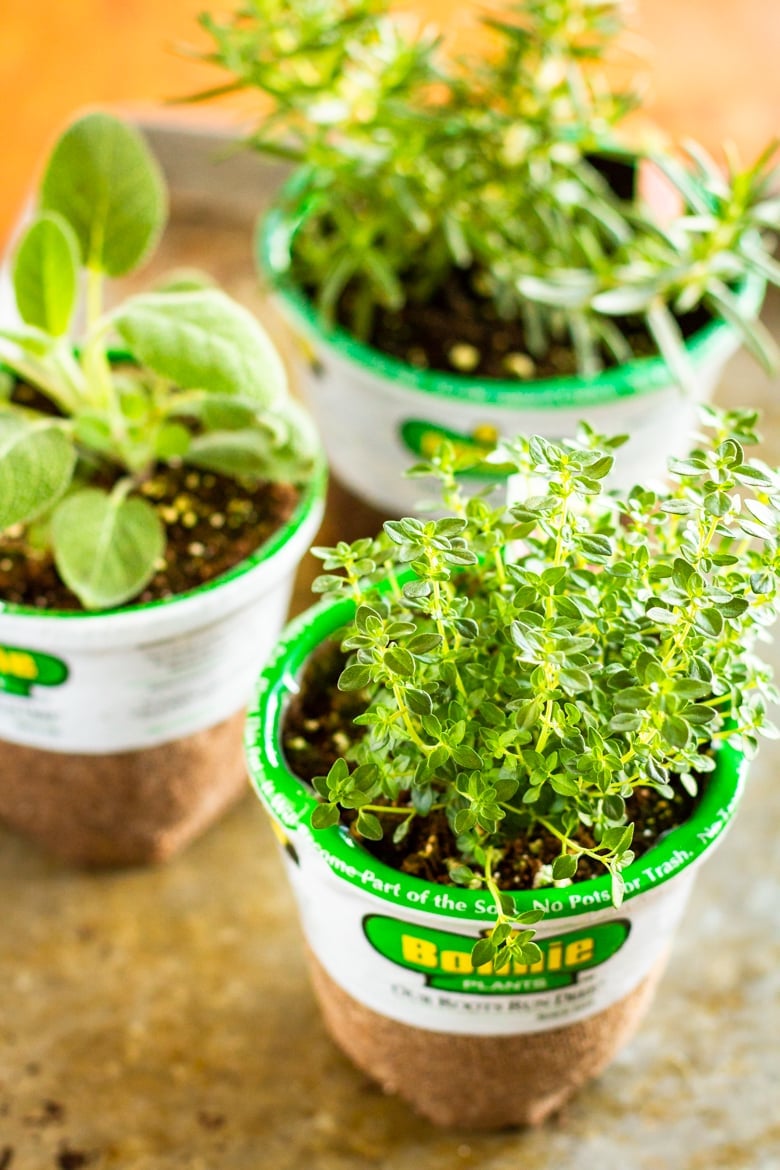
2| I purchased herb starters from the garden department at Walmart. Yep, instead of trying to grow my herbs from seed, I figured caring for nearly mature plants would be SO much simpler! (Spoiler: it TOTALLY is.)
Even so early in the growing season, they had a great selection available! I snagged the following herbs:
Basil was also on my wishlist, but I couldn't find any basil plants in the garden department. However, I did end up finding one sad-looking little basil plant in the produce department... I'm hoping that it will flourish with a little love and care!
Other herbs to consider that grow well in containers are:
How To Start An Indoor Herb Garden
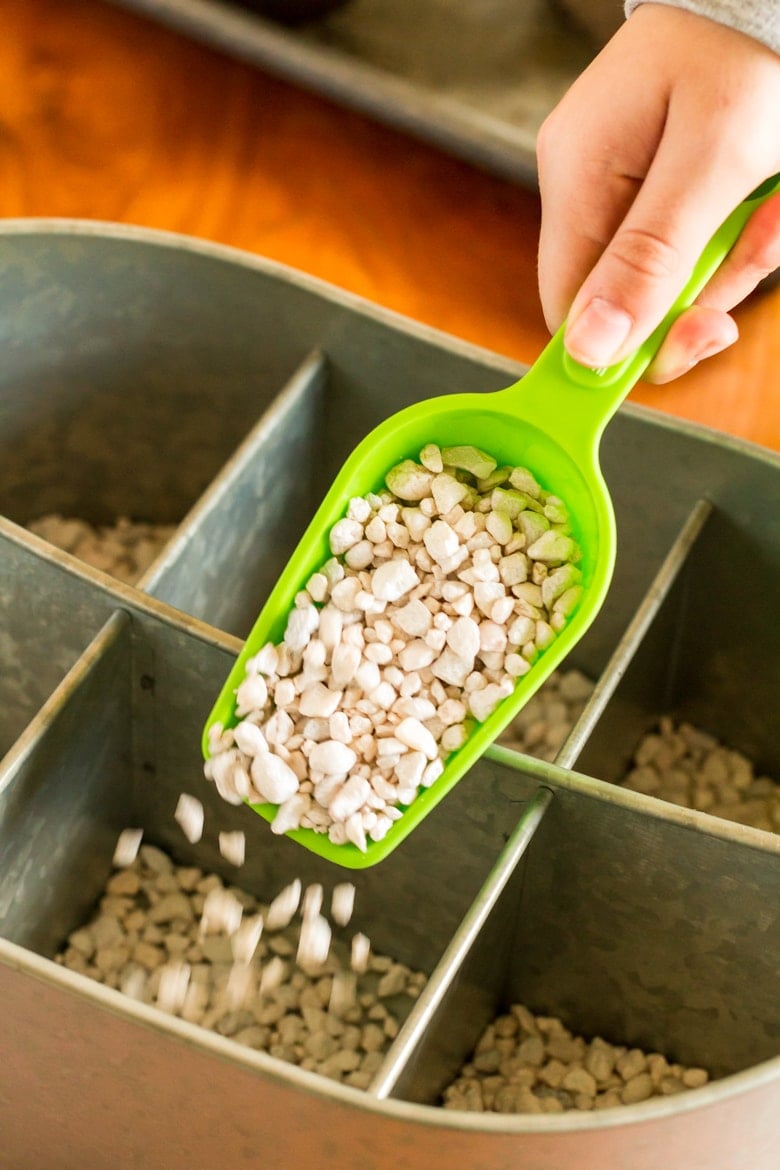
Planting my herbs in the utensil holder was simple enough. I started by adding some aquarium gravel to the bottom of each section to help with drainage.
I'm pretty sure it would be easy enough to drill some small holes in the bottom instead, but the gravel seemed like the simplest option - and I'm all about simple and easy!
For most of the herbs, I could just peel off the top portion of the biodegradable pot and squeeze the whole thing down into a square. Then I filled in any gaps with potting soil.
The basil plant was quite a bit smaller than the others, so I did need to add some additional potting soil before setting it in. Plus I needed to fill in quite a bit more around it.

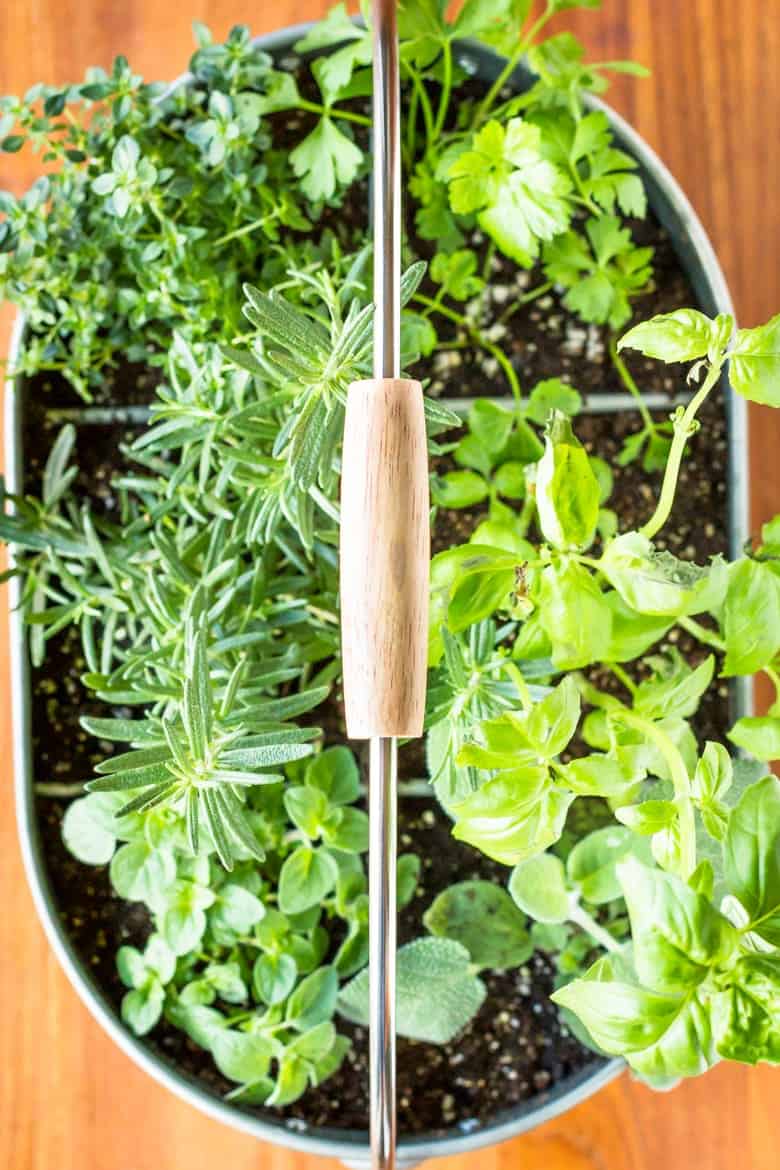
DIY Herb Garden Planter
I gave my planted herbs a small drink of water and voila... Not only can I move my little DIY indoor herb planter around easily at will, I can actually start using small cuttings from it right away. That's what I call 10 minutes well spent!
Sometimes the appearance of my favorite fresh herbs in the produce department is a bit questionable, so I'm thrilled to have a better option ready to use.
And truthfully, each plant already yields about three times what I'd get in one of those small plastic clamshell containers for just about the same price - so it's by far a more frugal option. I can't believe I didn't think to try this easy herb garden hack sooner!
What's your biggest challenge with an indoor herb garden?

10-Minute Easy Indoor Herb Planter
Helpful Equipment
Supplies
- galvanized utensil caddy
- aquarium gravel
- garden soil
- 6 herb starters - or more depending on your utensil caddy
Instructions
- Fill the bottom of each section of the utensil caddy with about an inch of aquarium gravel to help with drainage.
- Add the herb starters, one per section. If the herb starters have a biodegradable pot, simply peel off some of the upper rim, and squeeze them down into the section. For herb starters in a plastic container, remove them from the container, and transfer them to a section of the utensil caddy.
- Fill in with garden soil around each herb starter, as necessary.
- Water lightly after planting. After the initial watering, water as needed when the top inch or so of the soil starts to feel dry.
Featured Products


More Easy Gardening Ideas To Try
You might also enjoy these other simple & easy gardening ideas:
- Growing Strawberries In Containers
- Braided Hibiscus Tree Care
- How To Plant Flowers In A Large Garden Vase
Did you make this recipe?
Tag @unsophisticook on Instagram and hashtag it #unsophisticook.


IStuke says
I'm late to the party - is this caddy leak-proof? I love the idea!
Tara Kuczykowski says
You're never too late! The Better Homes and Gardens caddy pictured did not leak. However, that particular model has been replaced by a slightly different version. I can't imagine it would be any different, but it does show out of stock right now. Some stores may still have them offline, though. Amazon has some nice options right now, like this similar one: https://amzn.to/3aVI1TI
Becky Hardin says
Such a great idea! I needs to do this!
Krissy Allori says
What a great idea! I'll be trying this soon.
Aimee Shugarman says
What a great planter idea!!
Chelsea says
This is seriously sooo fun! I can't wait to make my own herb garden from your tips and tricks! Thanks!
Teri says
Thank you for this great idea! I made mine this weekend. Used parsley, oregano, basil, rosemary, thyme, & tarragon. I used a China marker/grease pencil to write the name of each herb on the side of the galvanized utensil carrier. Will try to post photo.
andrea says
How often are you moving the plan from indoors to outdoors. I have never grown an herb garden because I live in an apartment, but this seems like a great option. Just look for some more advice on growing the herbs!
Tara @ Unsophisticook says
Great question, Andrea! It really depends a lot on the weather. In the spring, I try to take it out every day — unless it's raining or really windy. However, as the weather gets hotter, it tends to dry out very quickly. So I might only take it out for a short while in the morning or late afternoon, and I try to avoid scorching direct sunlight as we move into summer. Fall is similar to spring, and then our climate typically isn't conducive to putting it outside. So in this case I just try to move it to a window with good light each day.
Shannon Beuchat Durso says
I was contemplating the terracotta also , then I decided it wouldn't be what I wanted. So I was canceling the idea when I found super cute utensil caddy at TJMAX I fell in love. I can't wait to get my herbs tomorrow#
Emilee says
Would the compartments restrict the growth? I just bought my first herbs to start my first herb garden and I have been looking at all the different ideas on how to keep them portable but I have been concerned with the different pots restricting their growth.
Tara @ Unsophisticook says
Great question, Emilee! The size of the container will always limit the size of the plant growing in it, so it really depends on how often you will be taking cuttings. The small size format is working perfectly for our needs so far.
A quick update overall: My oregano, rosemary and thyme are all thriving. My basil is still looking a little sad, but remember, I didn't start with a very healthy plant. I may actually purchase a new one if it doesn't perk up soon.
The sage is doing well, although not as well as the basil, rosemary and thyme. This probably has more to do with the fact that our Weimaraner puppy seems to have really taken to it and will nip leaves off any time it's within reach.
The parsley actually didn't survive, and I'm not sure why, but I've never been especially successful at growing it indoor or outdoors. If anyone has tips or suggestions, I'm all ears! I planted some new parsley seeds, and while they're sprouting, they don't seem to be taking off. Maybe I just need to select a different herb altogether.
Stephanie Braun Robb says
Neglect it, I have 2 parsley plants that came back in zone 5 this spring, I didn't care for them at all from fall to now. I just ordered a flatware caddy because the pots I've been buying just dont fit well on the kitchen counter, love this idea for indoor herbs (already purchased herbs and 2 different pots). I think I will make one for my mom for Mothers day too!
Tara @ Unsophisticook says
I like that advice, Stephanie! Easy to follow, lol. I agree that it would make a great gift for Mother's Day — or even a housewarming gift.
Erin Baynham says
I love the idea of having an indoor/outdoor herb garden!
Tara @ Unsophisticook says
It really is so convenient, Erin! I've been thankful for it over and over again this past week with the weird cold snap we've been having in Ohio.